在日常技术写作和内容创作过程中,手动编写 Hugo 博客的 front matter、目录结构和初稿不仅繁琐,而且容易出错。尤其是多语言、多类型内容管理时,格式规范和字段完整性要求极高。为此,我开发了 Website MCP Server,目标是:
- 让博客内容的创建流程自动化、智能化
- 通过 AI(如 Copilot agent)根据提示词自动生成规范化的 Hugo front matter 和初稿
- 一键创建目录、文件,极大提升内容生产效率
- 支持 VS Code/Copilot agent 无缝集成,实现“所见即所得”的内容脚手架体验
你可在 rootsongjc/hugo-website-mcp-server 查看完整代码。
功能亮点
Website MCP Server 的核心功能包括:
- 智能内容生成只需在 Copilot agent 或 VS Code 中输入一句描述(如“写一篇关于 HUGO MCP Server 的博客”),MCP Server 即可自动:
- 生成规范化的 Hugo front matter(title、date、tags、categories、description 等)
- 自动推断 slug、banner、摘要等字段
- 生成内容目录和初稿文件
- 一键创建目录结构
根据内容类型(blog、book、podcast 等)和语言(zh/en),自动创建对应的文件夹和
index.md文件,保证内容结构与 Hugo 规范一致。 - 格式化输出 输出的 Markdown 文件完全符合 Hugo 的 YAML front matter 标准,支持多语言和多类型扩展,便于后续编辑和发布。
- VS Code/Copilot agent 集成 通过 MCP Server API,Copilot agent 可直接调用内容生成服务,实现“AI 驱动的内容脚手架”,在 VS Code 中一键生成博客草稿。
使用方法
1. 启动 MCP Server
在 Hugo 项目根目录下:
cd tools/mcp
npm install
npx ts-node website-mcp-server.ts
# 或 node website-mcp-server.js
2. 在 Copilot agent/VS Code 中创建博客
只需输入类似如下提示词:
写一篇关于 Hugo MCP Server 的博客,主题是 AI 内容生成与自动化脚手架
Copilot agent 会自动调用 MCP Server,生成如下内容:
- 自动创建
content/zh/blog/hugo-mcp-server-ai/index.md - 自动填充 front matter(title、date、tags、categories、description、slug、cover 等)
- 生成一段结构化的初稿正文
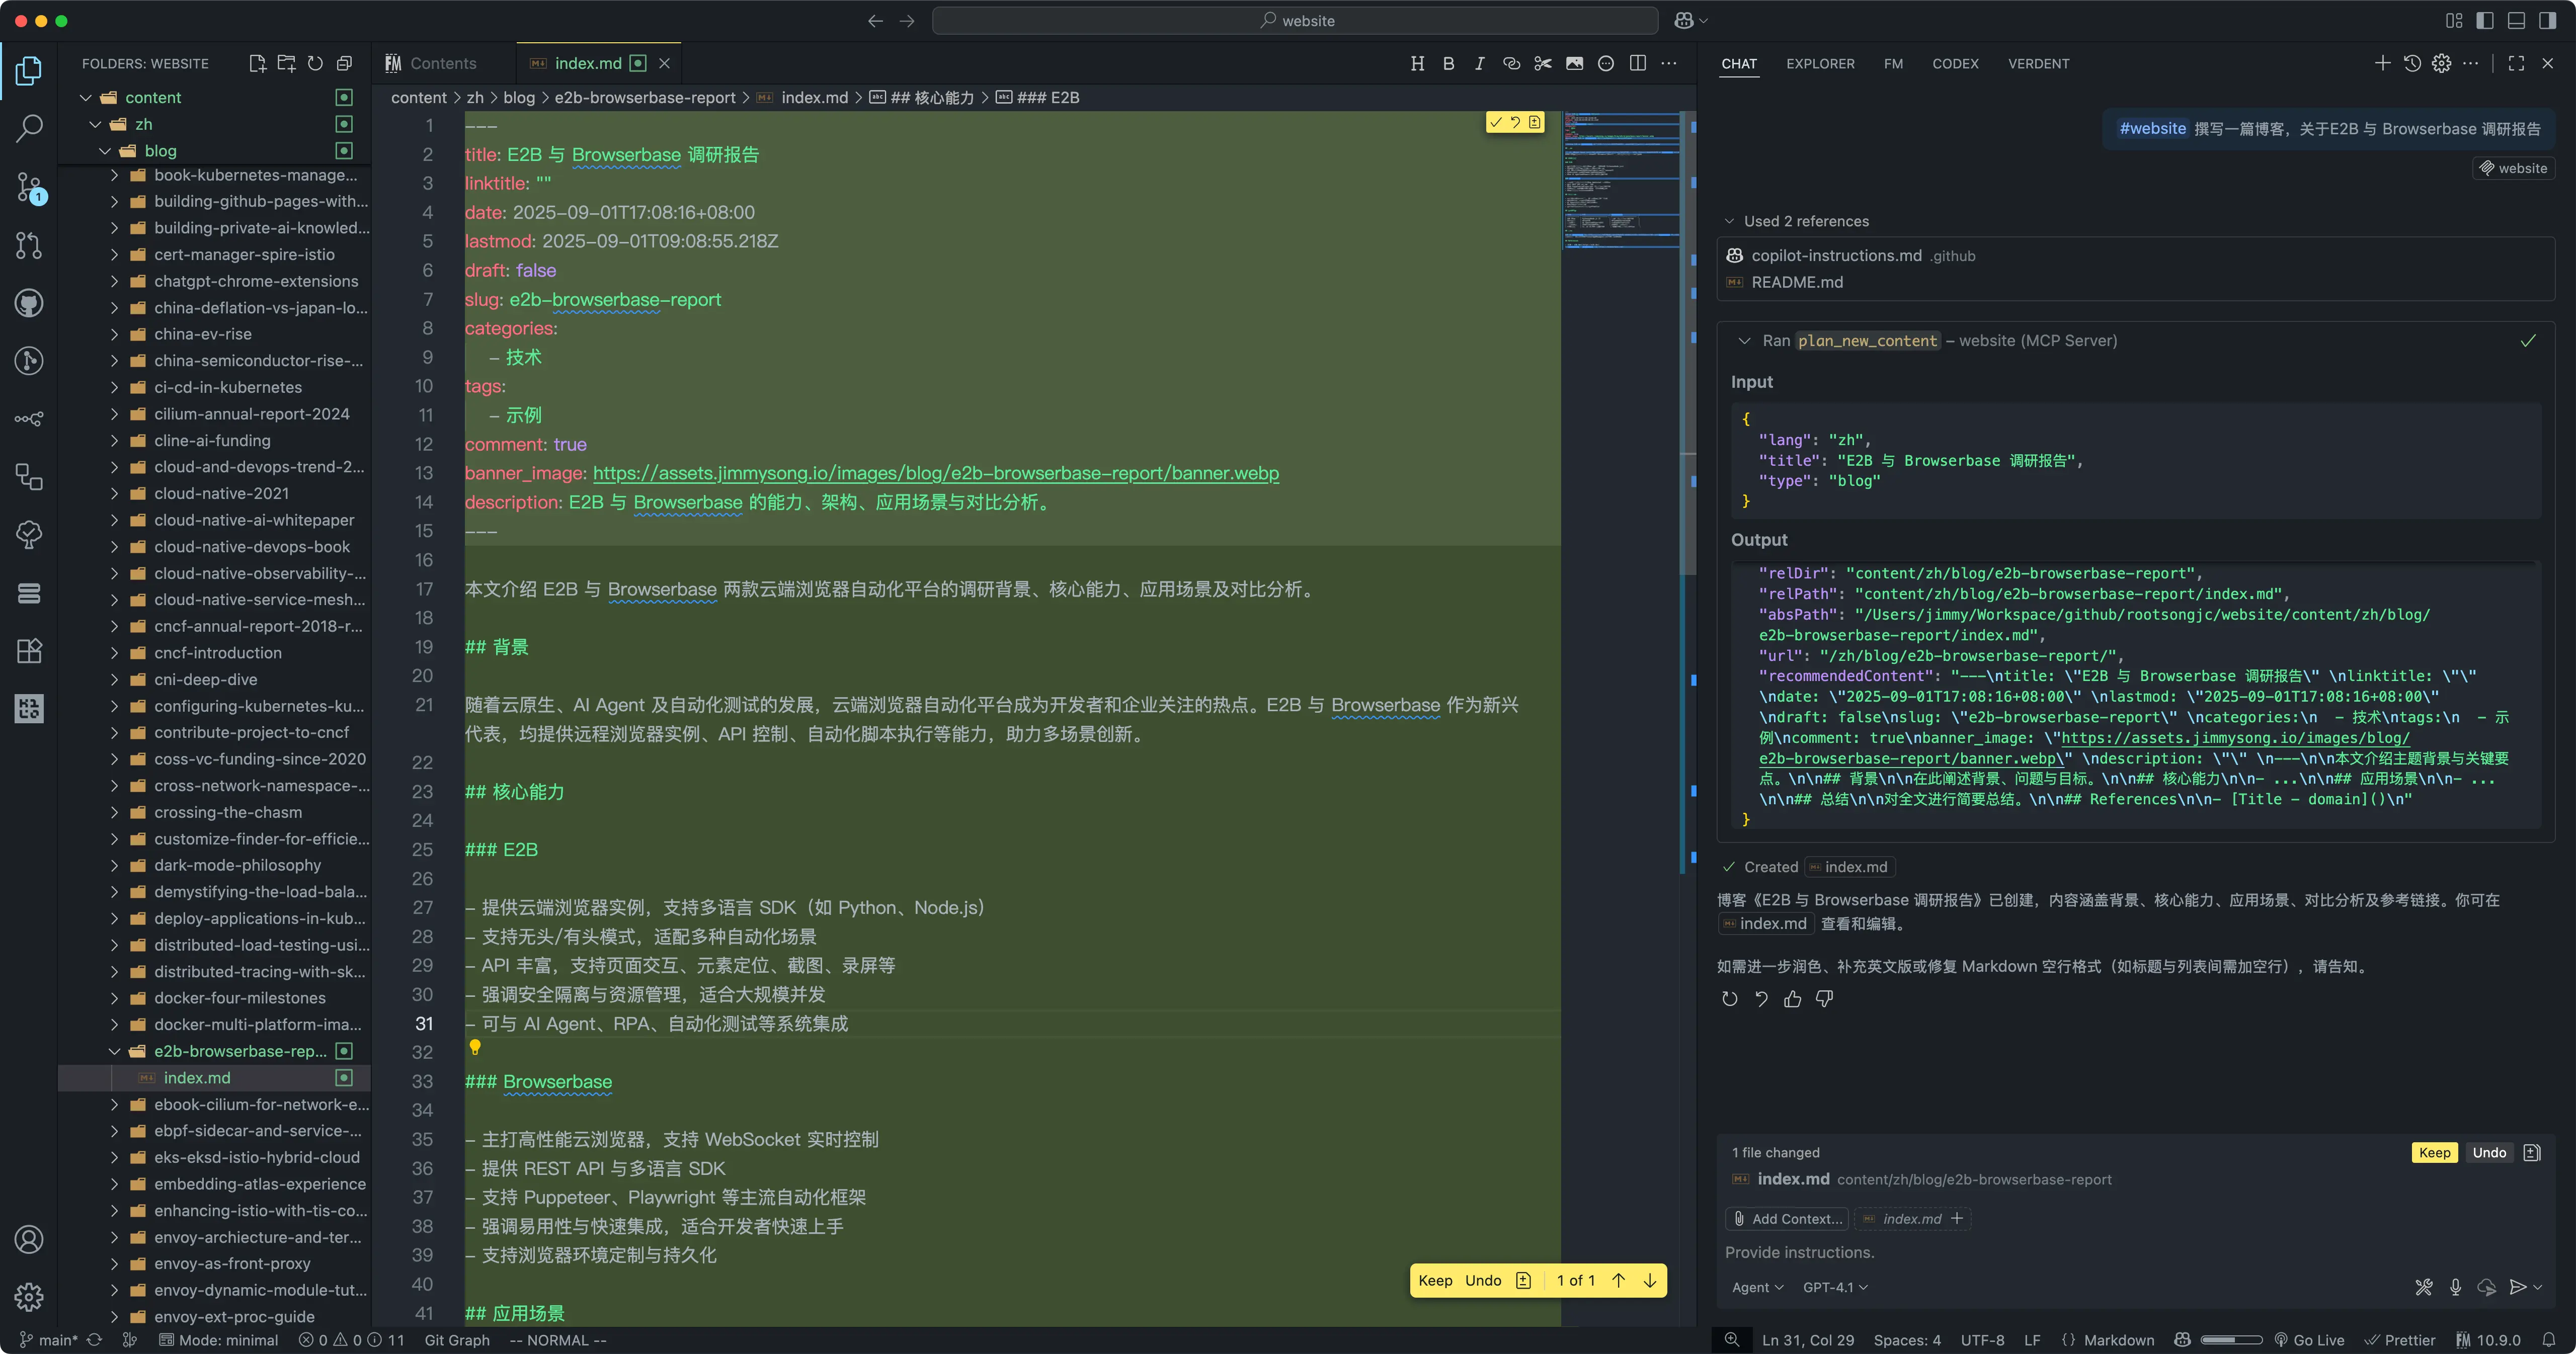
3. 生成效果示例
生成的 Markdown 文件示例:
---
title: "Hugo MCP Server:AI 驱动的内容生成脚手架"
date: 2025-09-01T10:00:00+08:00
tags:
  - Hugo
  - MCP
  - AI
categories:
  - 工具
cover: "https://assets.jimmysong.io/images/blog/hugo-mcp-server-ai/banner.webp"
slug: hugo-mcp-server-ai
description: "介绍如何用 MCP Server 实现博客内容自动生成,提升写作效率。"
draft: true
lastmod: 2025-09-01T10:00:00+08:00
---
正文自动生成:
## 项目背景

随着技术博客内容日益丰富,手动创建 front matter 和目录结构变得低效。MCP Server 通过 AI 自动生成内容脚手架,极大提升了写作体验。

## 功能介绍

- 一键生成博客 front matter
- 自动推断 slug、banner、摘要
- 支持多语言和多类型内容
- VS Code/Copilot agent 集成

## 使用方法

1. 启动 MCP Server
2. 在 VS Code/Copilot agent 输入内容描述
3. 自动生成博客草稿和目录结构

## 总结

MCP Server 让内容创作变得高效、智能,是技术写作者的理想工具。
MCP Server 架构与核心机制详解
Website MCP Server 基于 Model Context Protocol(MCP)规范实现,提供了完整的工具注册、调用和内容生成流程。
1. MCP 协议基础与通信机制
MCP Server 遵循标准的 MCP 协议,通过 stdio 传输与客户端(如 VS Code)进行通信:
// 核心 MCP Server 初始化
const server = new Server(
  {
    name: "website-mcp",
    version: "0.1.0",
  },
  {
    capabilities: {
      tools: {},
    },
  }
);

// 使用 stdio 传输
const transport = new StdioServerTransport();
server.connect(transport);
2. Tool 注册与发现机制
MCP Server 采用工具注册表模式,每个工具都有规范的描述、输入模式和执行函数:
const tools: Record<string, {
  description: string;
  inputSchema: Record<string, any>;
  execute: ToolExec;
}> = {
  create_content: {
    description: "Plan or create new content with an SEO-friendly slug",
    inputSchema: {
      type: "object",
      properties: {
        type: { type: "string", enum: ["blog", "book", "podcast", "notice", "trans", "ai", "slide", "publication"] },
        title: { type: "string", minLength: 2 },
        lang: { type: "string", enum: ["zh", "en"] },
        // ... 更多参数
      },
      required: ["type", "title", "lang"],
    },
    execute: async (args) => {
      // 具体实现逻辑
    },
  },
  // 其他工具...
};
工具列表通过 ListToolsRequestSchema 暴露给客户端:
server.setRequestHandler(ListToolsRequestSchema, async (_req) => {
  return {
    tools: Object.entries(tools).map(([name, t]) => ({
      name,
      description: t.description,
      inputSchema: t.inputSchema,
    })),
  };
});
3. Tool 调用流程与数据流
当 VS Code/Copilot 需要调用工具时,流程如下:
- 工具发现:客户端请求
tools/list,获取可用工具清单 - 参数验证:根据
inputSchema验证传入参数 - 工具执行:调用对应的
execute函数 - 结果返回:返回标准化的 MCP 响应格式
server.setRequestHandler(CallToolRequestSchema, async (req) => {
  const name = req.params.name;
  const args = (req.params.arguments as any) ?? {};
  const tool = tools[name];

  if (!tool) {
    return {
      content: [{ type: "text", text: JSON.stringify({ ok: false, error: `Unknown tool: ${name}` }) }],
    };
  }

  try {
    const result = await tool.execute(args);
    return result;
  } catch (err: any) {
    return {
      content: [{ type: "text", text: JSON.stringify({ ok: false, error: String(err?.message || err) }) }],
    };
  }
});
4. 内容类型识别与 Archetype 绑定
MCP Server 中的内容创建逻辑基于 Hugo 的 archetype 系统。虽然当前实现没有直接读取 archetype 文件,但遵循相同的字段规范:
Archetype 文件示例:
# archetypes/blog.md
---
title: "{{ replace .Name "-" " " | title }}"
date: {{ .Date }}
lastmod: {{ .Date }}
draft: true
slug: "{{ .Name }}"
categories:
  - 科技评论
tags:
  - 示例标签
comment: true
cover: "https://assets.jimmysong.io/images/blog/{{ .Name }}/banner.webp"
description: ""
---
内容类型自动识别:
async function createContent(args) {
  const { type, title, lang, parent, slug, write = false, content, description } = args;

  // 1. 生成唯一 slug
  const manual = ensureKebabSlug(slug);
  const slugRaw = manual || (await toSeoSlug(title, description));
  const uniqueSlug = await ensureUniquePath(baseDir, slugRaw);

  // 2. 构建目录路径
  const relDir = path.join("content", lang, type, parent ?? "", uniqueSlug);
  const relPath = path.join(relDir, "index.md");
  const absPath = path.join(REPO_ROOT, relPath);

  // 3. 生成 front matter(根据内容类型)
  const date = beijingNowIso();
  const fm: Record<string, unknown> = {
    title,
    date,
    lastmod: date,
    draft: false,
    slug: uniqueSlug,
  };

  // 4. 特定类型的字段补充
  if (type === "blog") {
    fm.categories = ["技术"];
    fm.tags = ["示例"];
    fm.comment = true;
    fm.cover = `https://assets.jimmysong.io/images/blog/${uniqueSlug}/banner.webp`;
    fm.description = "";
  }

  // 5. 生成内容并写入文件
  const yaml = generateYAML(fm);
  const bodyTemplate = generateBodyTemplate(lang, type);
  const fullContent = yaml + bodyTemplate;

  if (write) {
    await fs.mkdir(path.dirname(absPath), { recursive: true });
    await fs.writeFile(absPath, content ?? fullContent, "utf8");
  }

  return { relPath, absPath, url: toSiteUrl(relPath) };
}
5. 智能 Slug 生成机制
Slug 生成包含中英文处理、语义理解和唯一性保证:
// 中文到英文术语映射(部分示例)
const EN_TERM_MAP: Record<string, string> = {
  "云原生": "cloud-native",
  "容器": "containers",
  "微服务": "microservices",
  "服务网格": "service-mesh",
  "人工智能": "artificial-intelligence",
  "机器学习": "machine-learning",
  "深度学习": "deep-learning",
  "Kubernetes": "kubernetes",
  "Docker": "docker",
  "Istio": "istio",
  // ... 500+ 术语映射
};

async function toSeoSlug(title: string, description?: string) {
  if (hasCJK(title)) {
    // 使用术语字典进行语义翻译
    let slug = toEnglishSlugFromDict(title + " " + (description || ""));

    // 保留 ASCII 字符串(如 K8s, AI, GPU)
    slug = mergeAsciiRunsFromTitleIntoSlug(title, slug);

    // 确保唯一性
    return slug || ("post-" + Date.now());
  }

  // 英文标题直接转 kebab-case
  return kebab(title);
}

// 确保路径唯一性
async function ensureUniquePath(baseDir: string, slug: string) {
  let candidate = slug;
  let i = 1;
  while (true) {
    const dir = path.join(baseDir, candidate);
    try {
      await fs.access(dir);
      i += 1;
      candidate = `${slug}-${i}`;
    } catch {
      return candidate; // 路径不存在,可以使用
    }
  }
}
6. VS Code 集成与调用链路
在本系统中,用户请求的处理流程如下:
用户在 VS Code 编辑器中通过 Copilot 插件发起请求,经过 MCP Client 和 MCP Server 的处理后,在 Hugo 项目中创建文件并执行相关工具,最终将结果以 JSON 格式返回,用户可继续在编辑器中进行内容编辑。具体流程如下图所示:

实际调用示例:
用户在 VS Code 中输入:
"创建一个关于 Kubernetes 服务网格的博客"Copilot 解析后调用 MCP:
{
  "method": "tools/call",
  "params": {
    "name": "create_content",
    "arguments": {
      "type": "blog",
      "title": "Kubernetes 服务网格实践指南",
      "lang": "zh",
      "description": "深入探讨 Kubernetes 环境下的服务网格架构",
      "write": true
    }
  }
}
MCP Server 返回:
{
  "content": [{
    "type": "text",
    "text": "{\"ok\": true, \"relPath\": \"content/zh/blog/kubernetes-service-mesh-guide/index.md\", \"url\": \"/zh/blog/kubernetes-service-mesh-guide/\"}"
  }]
}
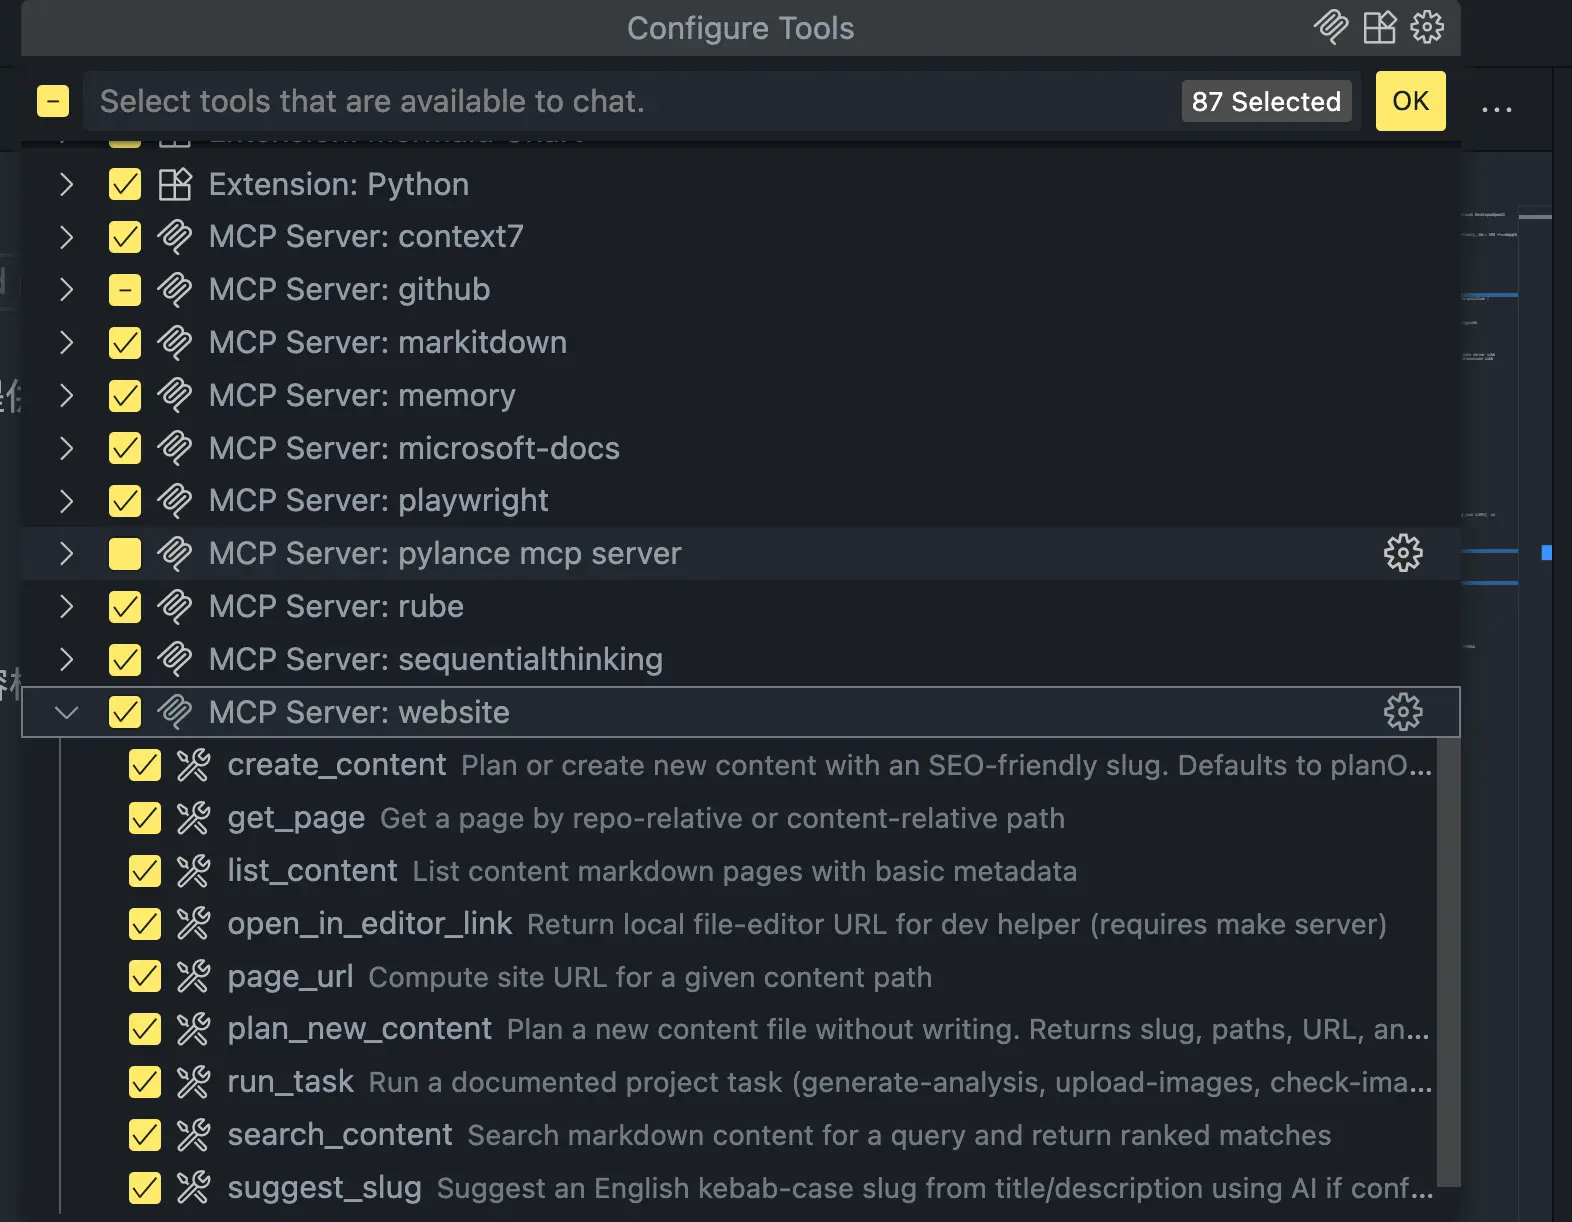
7. 可用工具清单
MCP Server 提供以下核心工具:
| 工具名称 | 功能描述 | 主要用途 |
|---|---|---|
list_content | 列出内容页面和元数据 | 内容索引和浏览 |
search_content | 全文搜索内容 | 查找相关文章和信息 |
get_page | 获取特定页面内容 | 读取现有文章 |
create_content | 创建新内容(核心功能) | 生成博客、书籍等 |
plan_new_content | 规划内容结构(不写入文件) | 预览生成效果 |
suggest_slug | 智能生成 slug | URL 友好化处理 |
page_url | 计算页面 URL | 生成访问链接 |
run_task | 执行项目任务(分析、图片处理等) | 维护和优化 |
open_in_editor_link | 生成编辑器链接 | 快速编辑跳转 |
8. MCP 协议接口规范
MCP Server 严格遵循 Model Context Protocol 标准,主要接口包括:
初始化握手:
{
  "jsonrpc": "2.0",
  "method": "initialize",
  "params": {
    "protocolVersion": "2024-11-05",
    "capabilities": {
      "tools": {}
    },
    "clientInfo": {
      "name": "vscode",
      "version": "1.0.0"
    }
  }
}
工具列表查询:
{
  "jsonrpc": "2.0",
  "method": "tools/list",
  "params": {}
}
工具调用:
{
  "jsonrpc": "2.0",
  "method": "tools/call",
  "params": {
    "name": "create_content",
    "arguments": {
      "type": "blog",
      "title": "示例文章",
      "lang": "zh"
    }
  }
}
通过这套完整的 MCP 架构,实现了从用户意图到内容生成的全自动化流程,同时保证了内容结构的规范性和一致性。
VS Code/Copilot Agent 集成配置
1. MCP Server 启动
在 Hugo 项目根目录下:
cd tools/mcp
npm install
npx ts-node website-mcp-server.ts
2. VS Code 配置
在 VS Code 的 MCP 配置文件中添加:
{
  "mcpServers": {
    "website": {
      "command": "npx",
      "args": ["ts-node", "tools/mcp/website-mcp-server.ts"],
      "cwd": "/path/to/your/hugo/project"
    }
  }
}
3. 使用流程
- 在 VS Code 中输入内容描述,如:
"创建一篇关于云原生服务网格的博客" - Copilot 会自动调用 MCP Server 的
create_content工具 - 生成规范化的 front matter 和目录结构
- 返回文件路径,可直接打开编辑
总结
Website MCP Server 通过实现完整的 MCP 协议栈,提供了从工具注册到内容生成的全流程自动化解决方案。其核心特性包括:
- 标准化协议:严格遵循 MCP 规范,确保与各种客户端的兼容性
- 智能内容生成:基于 Hugo archetype 的内容类型识别和 front matter 自动填充
- 语义化 Slug:支持中英文混合的智能 URL 生成
- 工具生态:提供完整的内容管理工具链,从创建到维护一站式解决
- VS Code 集成:无缝集成开发环境,提升内容创作效率
通过这套架构,技术写作者可以专注于内容创作本身,而将繁琐的格式化、结构化工作交给 AI 自动完成,真正实现了智能化的内容生产流水线。