In this blog, I’ll guide you through installing Tetrate Istio Subscription (TIS) and activating its monitoring add-on.
Understanding Tetrate Istio Subscription
Tetrate Istio Subscription is a comprehensive, enterprise-grade product offered by Tetrate. It provides thoroughly tested Istio versions compatible with all major cloud platforms. Derived from the open-source Tetrate Istio Distro project, TIS adds extensive support to these builds, including optional FIPS-validated cryptographic modules and a range of tested add-ons and integrations.
Why Choose TIS?
TIS is not a fork but an upstream distribution of Istio tailored for specific environments. Enhancements made to Istio are integrated upstream. Key benefits of TIS include:
- Extended Support: TIS offers 14 months of security update support.
- Commercial Support: TIS provides business support options for enterprise use cases, including compliance needs.
- Ease of Management: TIS simplifies installation and management processes.
- Multi-Environment Adaptability: TIS supports various cloud environments.
- FIPS Validation: TIS offers FIPS-validated versions for high-security requirements.
Visit the TIS docs for more information ›
Pre-Installation Requirements
Before installing TIS and its plugins, you’ll need:
- Terraform for importing dashboards into Grafana.
- Credentials from Tetrate for installing TIS.
- tis_username
- tis_password
Installing Istio and Monitoring Addons
First, check the supported Istio versions with TIS:
helm search repo tetratelabs/base --versions
NAME            CHART VERSION  APP VERSION    DESCRIPTION
tetratelabs/base1.20.1+tetrate01.20.1-tetrate0Helm chart for deploying Istio cluster resource...
tetratelabs/base1.20.0+tetrate01.20.0-tetrate0Helm chart for deploying Istio cluster resource...
tetratelabs/base1.19.5+tetrate01.19.5-tetrate0Helm chart for deploying Istio cluster resource...
tetratelabs/base1.19.4+tetrate01.19.4-tetrate0Helm chart for deploying Istio cluster resource...
tetratelabs/base1.19.3+tetrate01.19.3-tetrate0Helm chart for deploying Istio cluster resource...
tetratelabs/base1.18.6+tetrate01.18.6-tetrate0Helm chart for deploying Istio cluster resource...
tetratelabs/base1.18.5+tetrate01.18.5-tetrate0Helm chart for deploying Istio cluster resource...
tetratelabs/base1.18.3+tetrate01.18.3-tetrate0Helm chart for deploying Istio cluster resource...
tetratelabs/base1.17.8+tetrate01.17.8-tetrate0Helm chart for deploying Istio cluster resource...
tetratelabs/base1.17.6+tetrate01.17.6-tetrate0Helm chart for deploying Istio cluster resource...
tetratelabs/base1.16.7+tetrate01.16.7-tetrate0Helm chart for deploying Istio cluster resource...
tetratelabs/base1.16.6+tetrate01.16.6-tetrate0Helm chart for deploying Istio cluster resource...
We’ll install the latest Istio version, 1.20.1.
export TIS_USER="<tis_username>"
export TIS_PASS="<tis_password>"
# Helm chart version
export VERSION=1.20.1+tetrate0
# Image tag
export TAG=1.20.1-tetrate0
kubectl create namespace istio-system

kubectl create secret docker-registry tetrate-tis-creds \
    --docker-server="addon-containers.istio.tetratelabs.com" \
    --docker-username=${TIS_USER} \
    --docker-password=${TIS_PASS} \
    -n istio-system

# Install Istio
helm install istio-base tetratelabs/base -n istio-system \
    --set global.tag=${TAG} \
    --set global.hub="addon-containers.istio.tetratelabs.com" \
    --set "global.imagePullSecrets[0]=tetrate-tis-creds" \
    --version ${VERSION}

helm install istiod tetratelabs/istiod -n istio-system \
    --set global.tag=${TAG} \
    --set global.hub="addon-containers.istio.tetratelabs.com" \
    --set "global.imagePullSecrets[0]=tetrate-tis-creds" \
    --version ${VERSION} \
    --wait

# install ingress Gateway
kubectl create namespace istio-ingress

kubectl create secret docker-registry tetrate-tis-creds \
    --docker-server="addon-containers.istio.tetratelabs.com" \
    --docker-username=${TIS_USER} \
    --docker-password=${TIS_PASS} \
    -n istio-ingress

helm install istio-ingress tetratelabs/istio-ingress -n istio-ingress \
    --set global.tag=${TAG} \
    --set global.hub="addon-containers.istio.tetratelabs.com" \
    --set "global.imagePullSecrets[0]=tetrate-tis-creds" \
    --version ${VERSION} \
    --wait

# Install TIS addon
helm install istio-monitoring-demo tis-addons/istio-monitoring-demo --namespace tis --create-namespace
Port forward the Grafana service and open it in your local browser: http://localhost:3000:
kubectl port-forward --namespace tis svc/grafana 3000:3000
Note: Keep the port-forwarding command running, as we’ll need access to this port for importing the dashboard into Grafana.
Why TIS Monitoring Addon?
The Tetrate Istio Subscription (TIS) Monitoring Addon stands out by offering a tailored and advanced monitoring experience compared to standard Istio dashboards. It focuses on modern needs with four specialized dashboards, replacing outdated elements with relevant metrics. Key enhancements include a unified panel design, detailed service insights, and critical metrics like sidecar performance. Reserved for TIS customers, these dashboards reflect Tetrate’s commitment to providing value beyond basic support, ensuring a personalized and evolving monitoring solution. Choosing TIS Monitoring Addon means accessing a service that not only meets current needs but also adapts to future demands.
Installing Istio Monitoring Addons
After logging in with the default user name and password admin/admin, select Administration-Service accounts in the left navigation bar, and follow the instructions in the Grafana documentation to create a Service account with admin privilege.
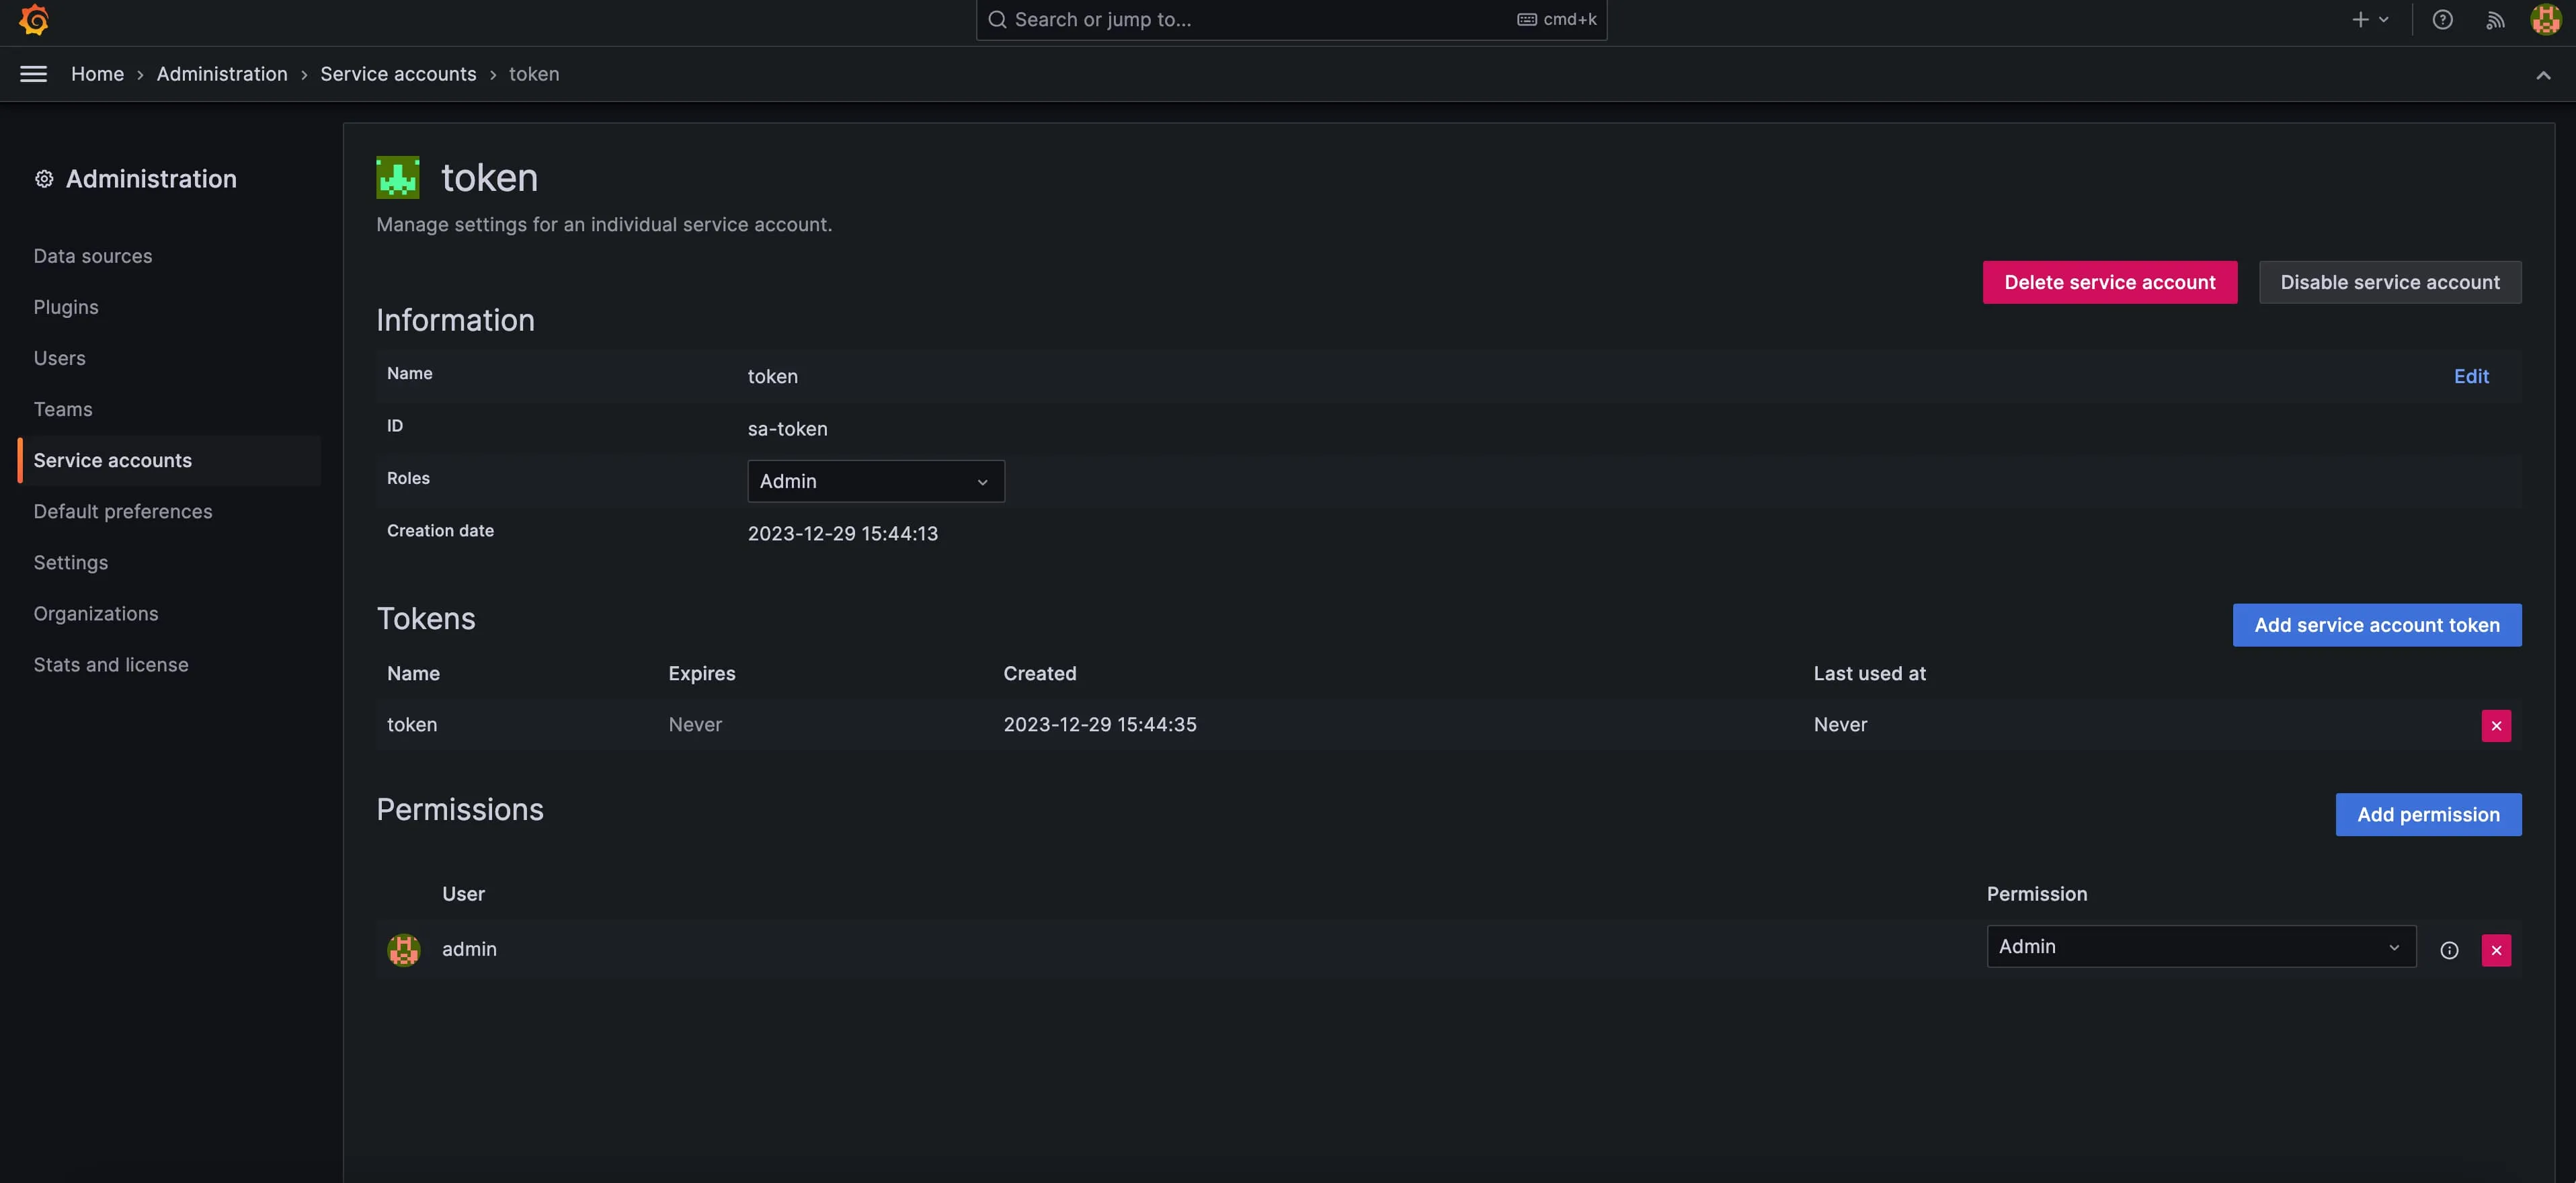
Create a Service account for Grafana then use Terraform to import dashboards into Grafana:
cat>~/.terraformrc<<EOF
credentials "terraform.cloudsmith.io" {
  token = "tetrate/tis-containers/<tis_password>"
}
EOF

# Create a terraform module file
cat>istio-monitoring-grafana.tf<<EOF
module "istio_monitoring_grafana" {
  source = "terraform.cloudsmith.io/tis-containers/istio-monitoring-grafana/tetrate"
  version = "v0.2.0"
  gf_url  = "http://localhost:3000"
  gf_auth = "<grafana_service_account_token>"
}
EOF

# Run the commands
terraform init
terraform plan
terraform apply -auto-approve
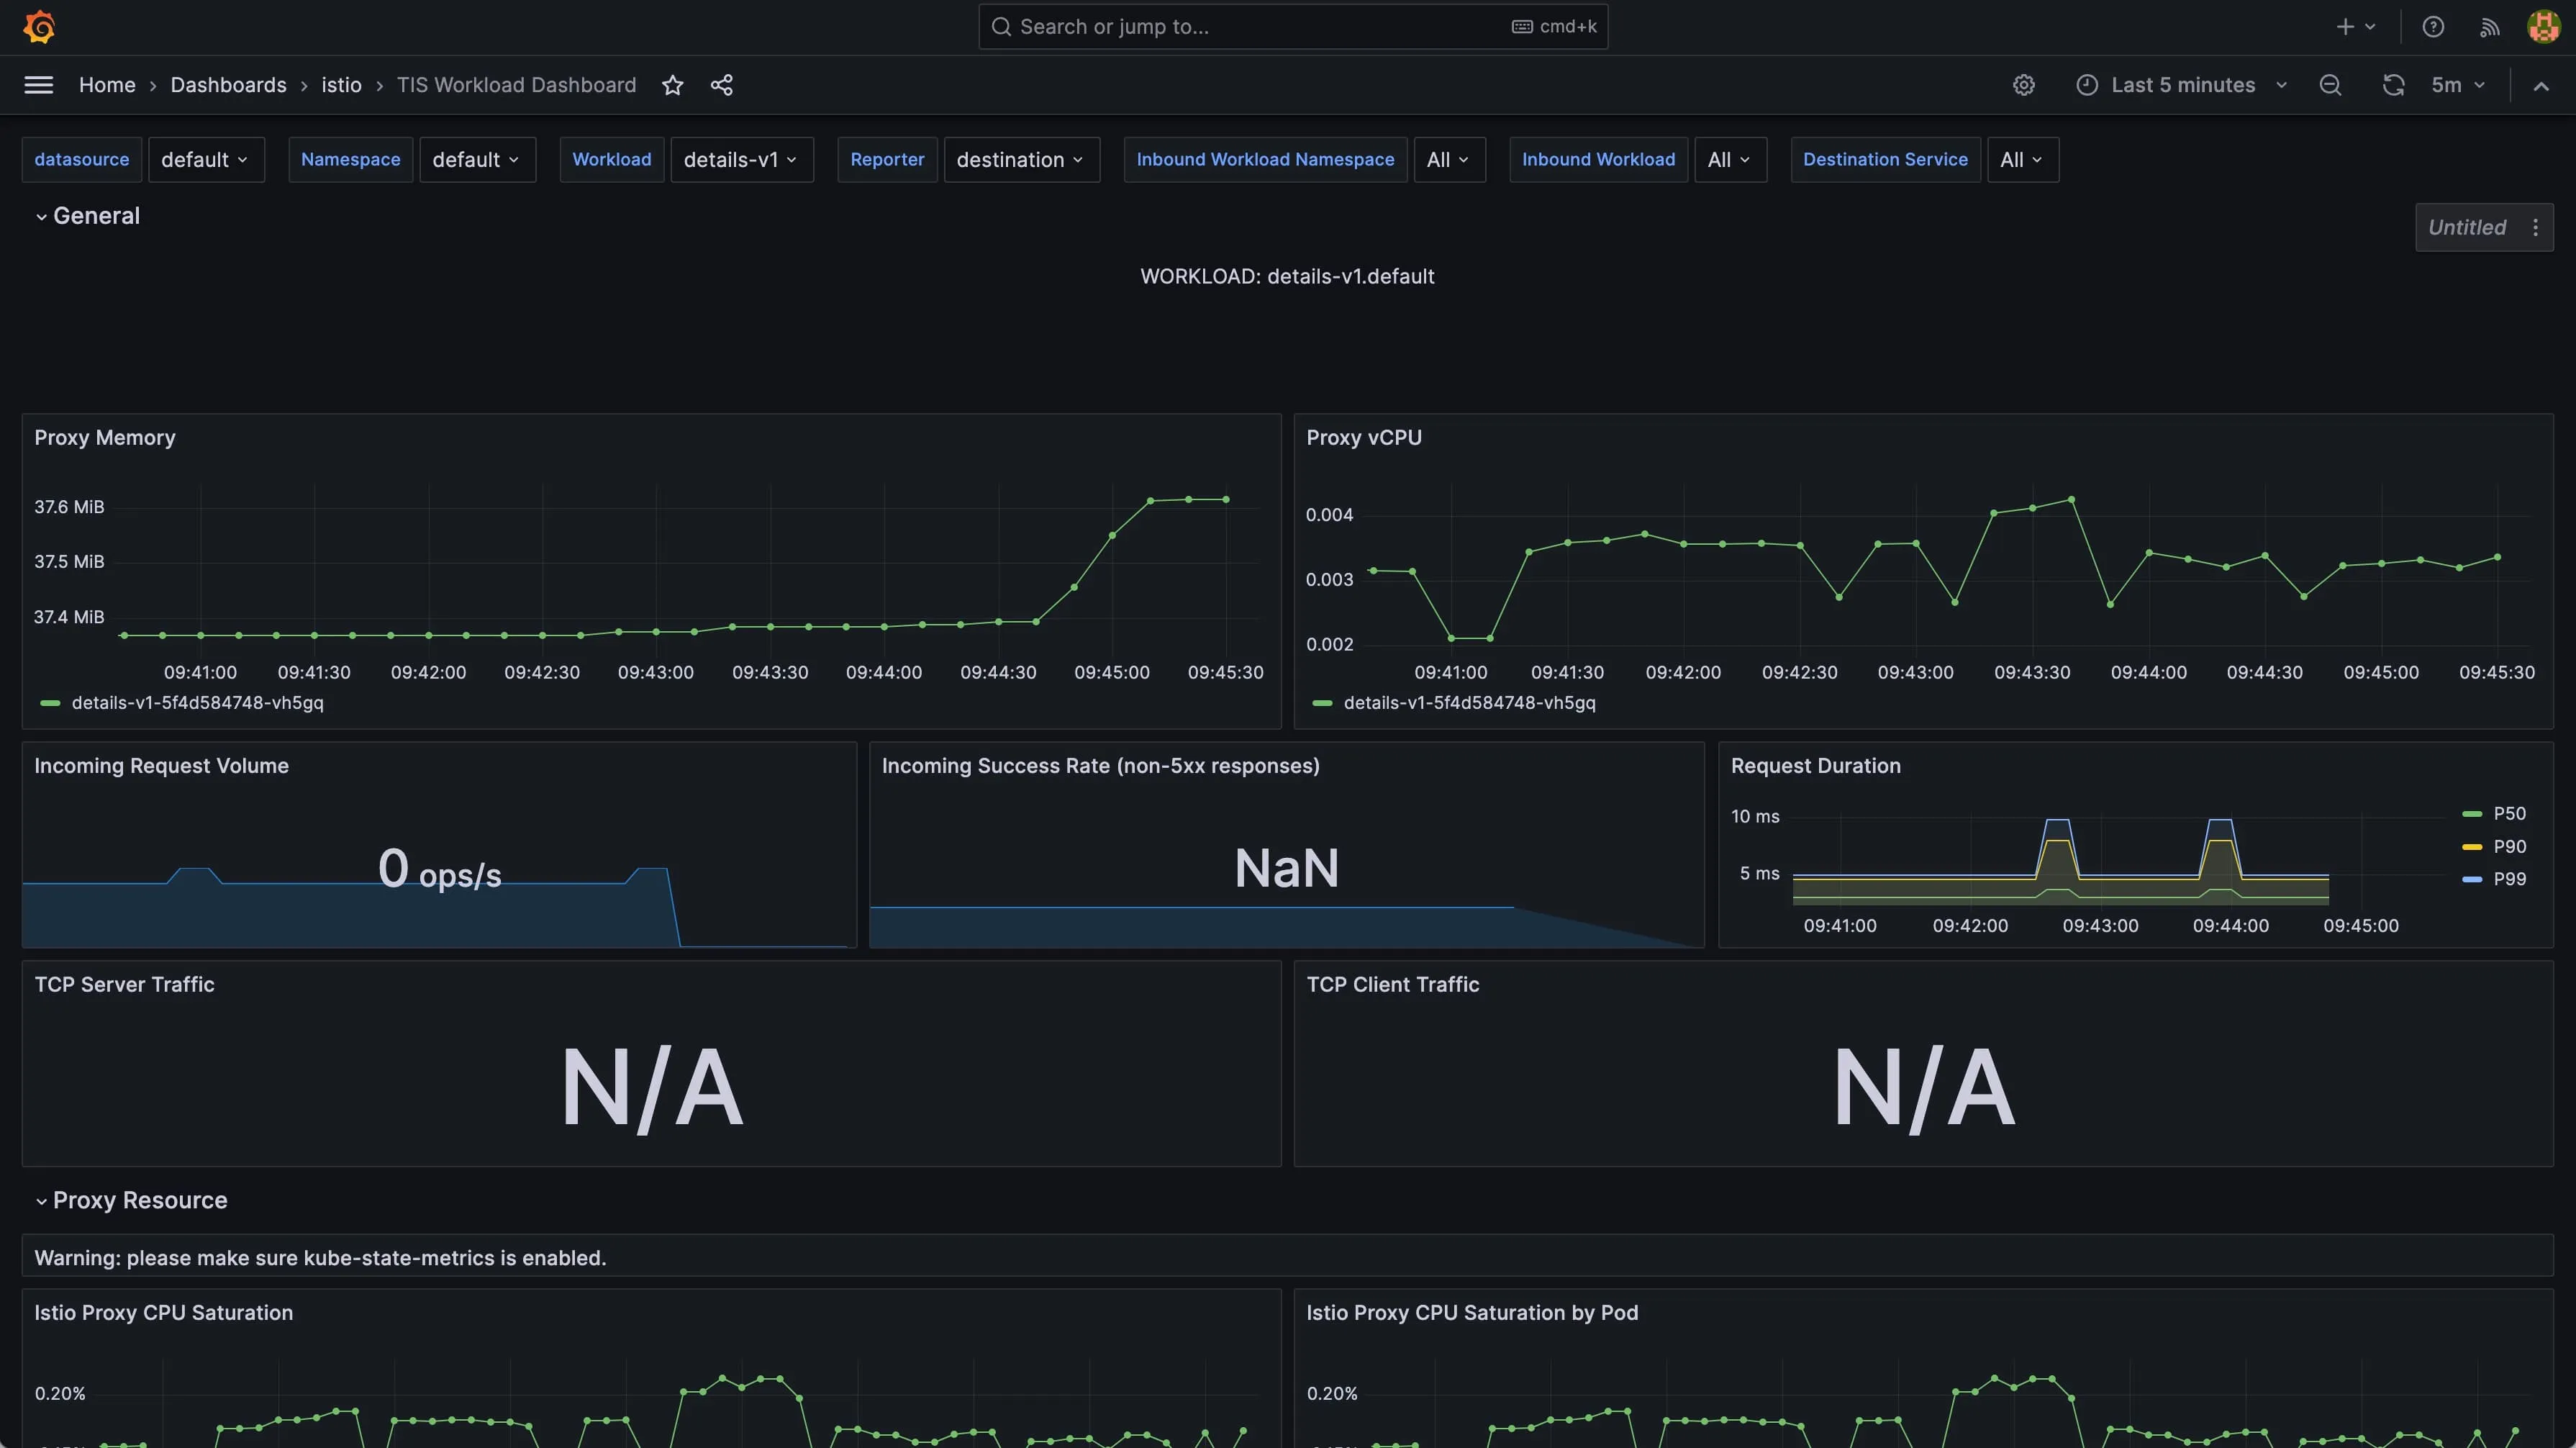
Congratulations, you have successfully imported four dashboards into Grafana:
- Istio Workload Dashboard
- Istio Service Dashboard
- Istio Wasm Extension Dashboard
- Istio Control Plan Dashboard
However, some dashboards might not have data yet. Let’s generate some traffic in the mesh.
Testing the Monitoring
Deploy the Bookinfo application and ingress gateway:
kubectl create secret docker-registry tetrate-tis-creds \
    --docker-server="addon-containers.istio.tetratelabs.com" \
    --docker-username=${TIS_USER} \
    --docker-password=${TIS_PASS} \
    -n default
kubectl label namespace default istio-injection=enabled
kubectl apply -f https://raw.githubusercontent.com/istio/istio/release-1.20/samples/bookinfo/platform/kube/bookinfo.yaml -n default
kubectl apply -f https://raw.githubusercontent.com/istio/istio/release-1.20/samples/bookinfo/platform/kube/bookinfo-gateway.yaml -n default
Retrieve the ingress gateway IP and generate traffic:
export GATEWAY_IP=$(kubectl -n istio-ingress get service istio-ingressgateway -o jsonpath='{.status.loadBalancer.ingress[0].ip}')
for i in $(seq 1 100);do curl http://$GATEWAY_IP/productpage ; sleep 3;done
Now, when you visit the Grafana dashboard, you will see monitoring data.
In addition, while importing these dashboards, we also imported the following alert rules:
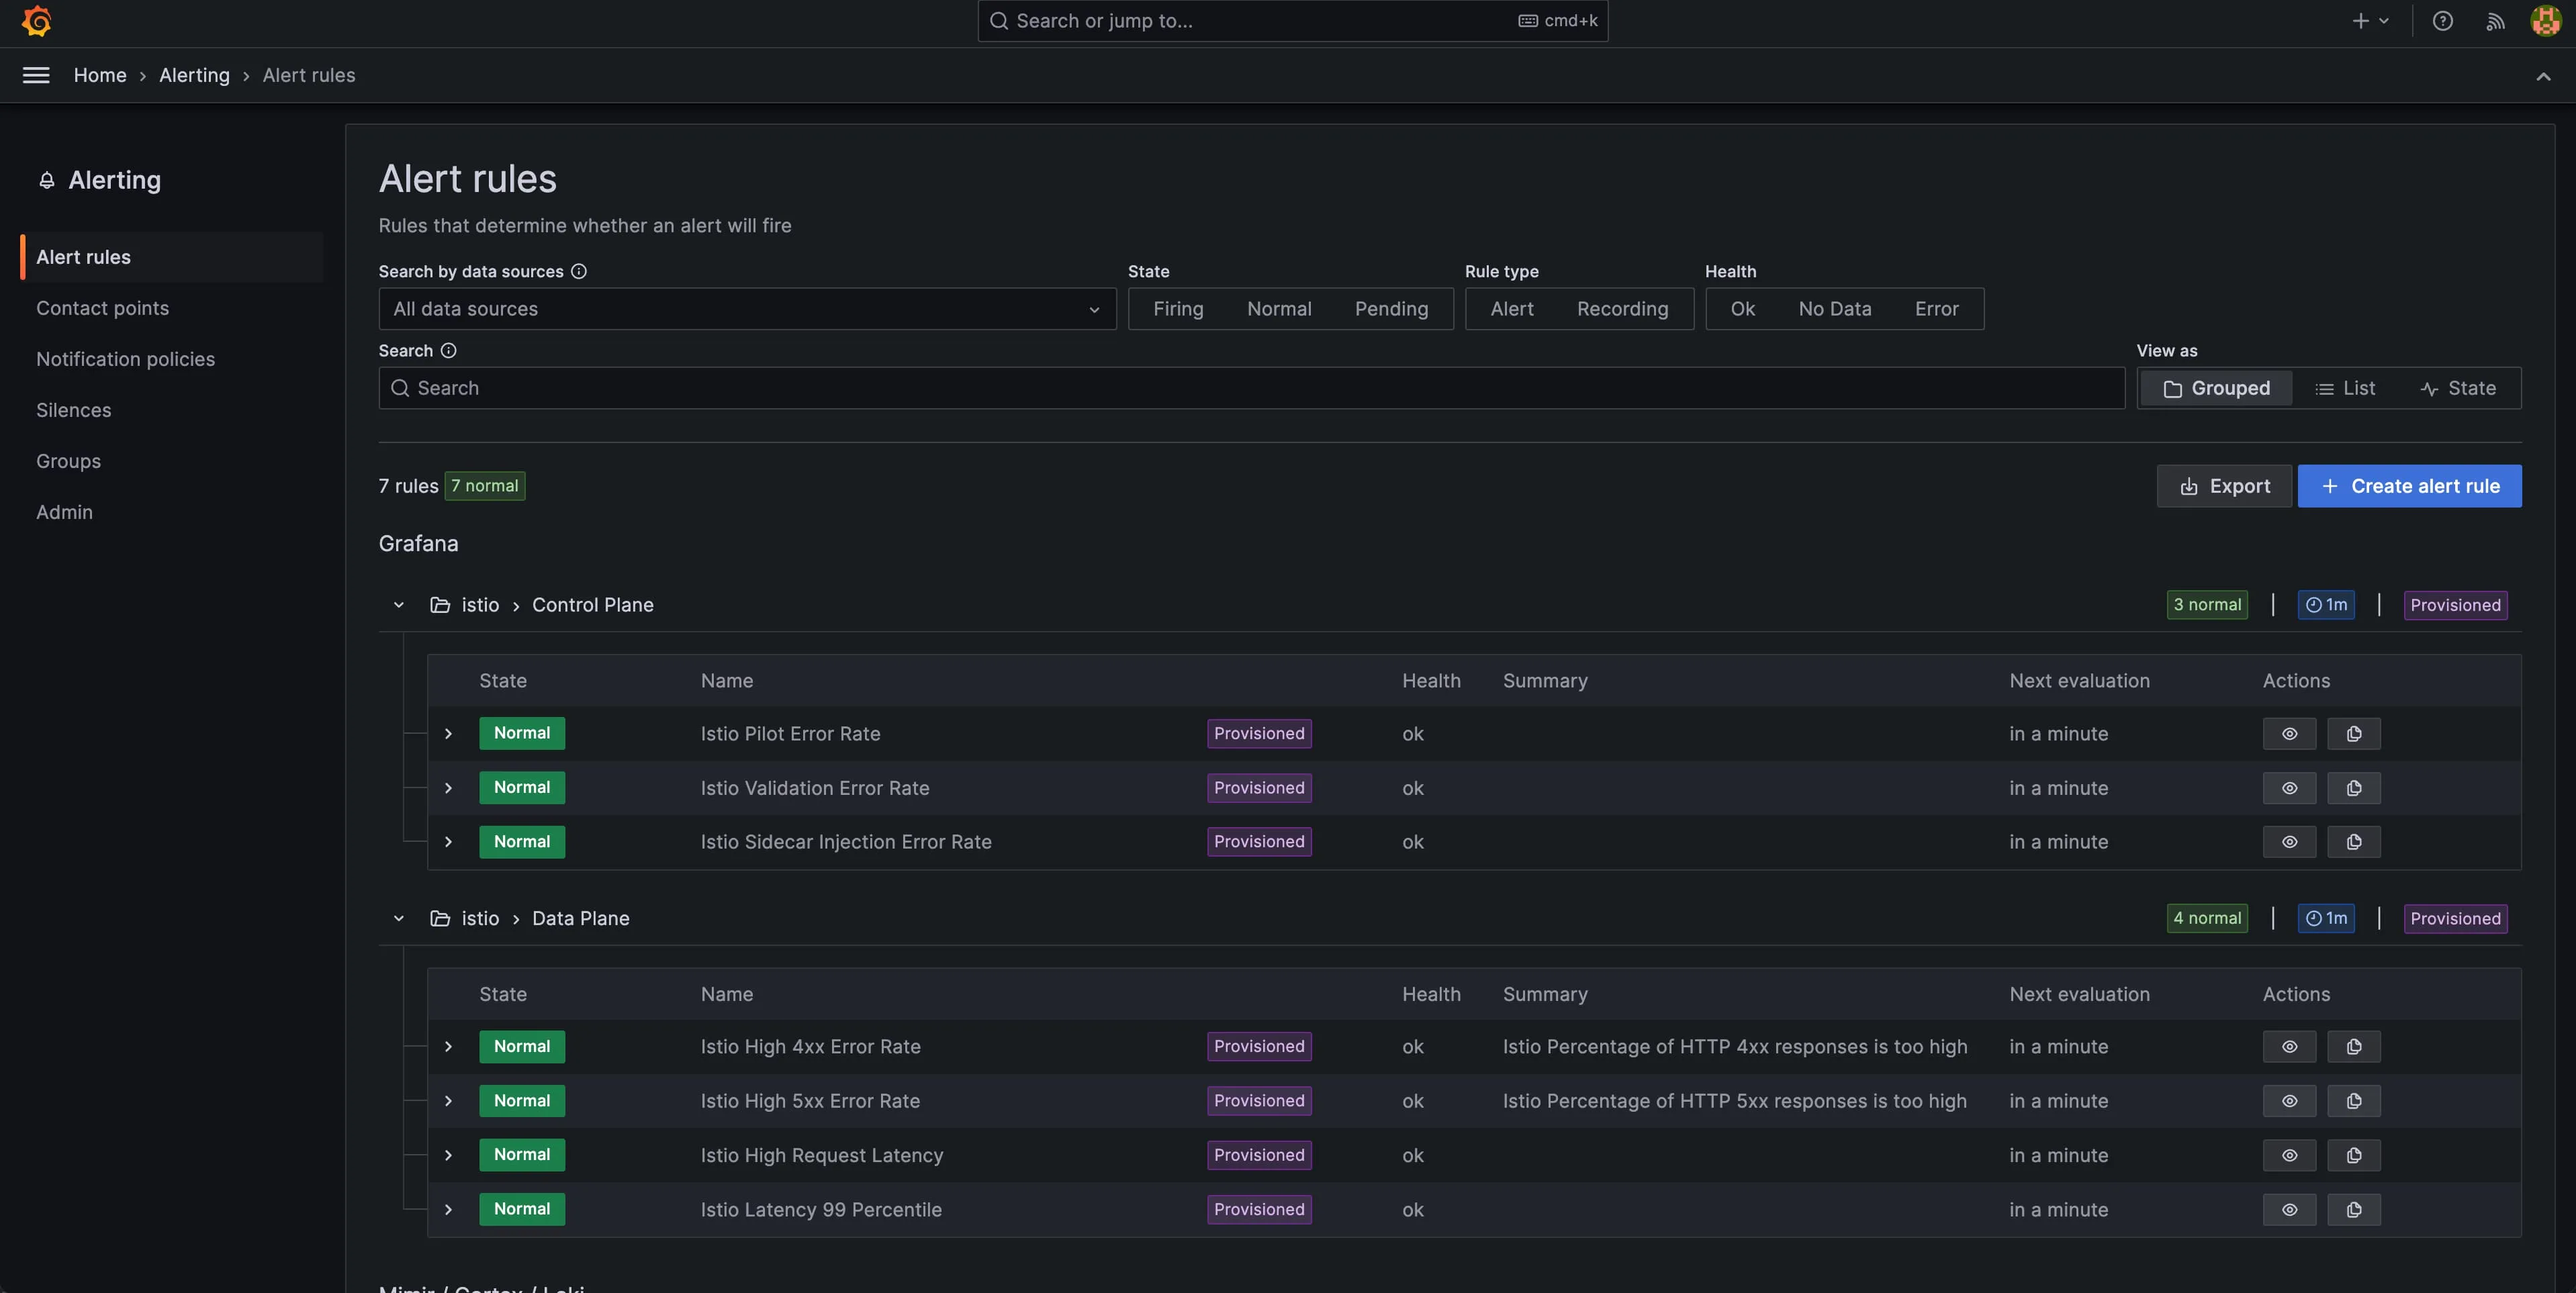
You can also define alert rules in Grafana, such as integrating Telegram and Slack to send notifications.
Cleanup
Run the following command to clean up the Bookinfo app and TIS:
kubectl delete -f samples/bookinfo/platform/kube/bookinfo.yaml
kubectl delete -f samples/bookinfo/networking/bookinfo-gateway.yaml
helm uninstall istio-ingress -n istio-ingress
helm uninstall istio-monitoring-demo -n tis
helm uninstall istiod -n istio-system
helm uninstall istio-base -n istio-system
kubectl delete namespace tis
kubectl delete namespace istio-ingress
kubectl delete namespace istio-system
Conclusion
By following these steps, you have successfully set up and tested monitoring in Istio using TIS. Enjoy the insights and advantages of enhanced monitoring in your Istio environment!
This blog was initially published at tetrate.io.